Showing posts with label Oh My DIY. Show all posts

Tuesday, December 13, 2011

Wedding Goodies

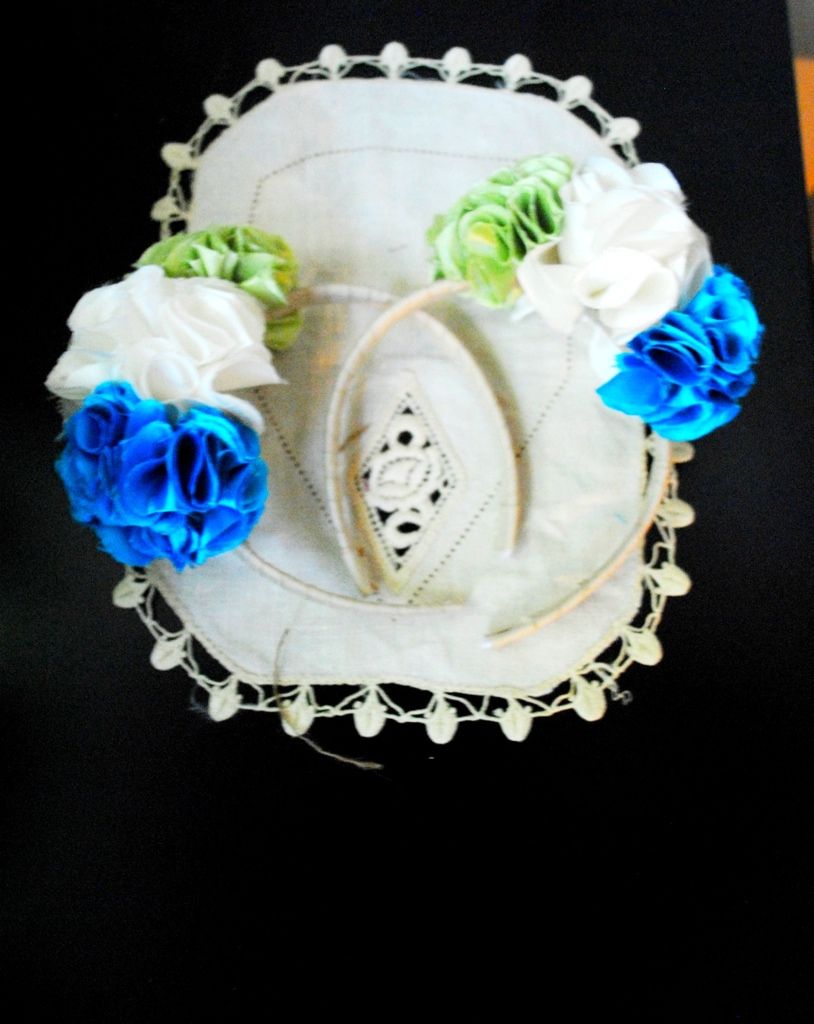
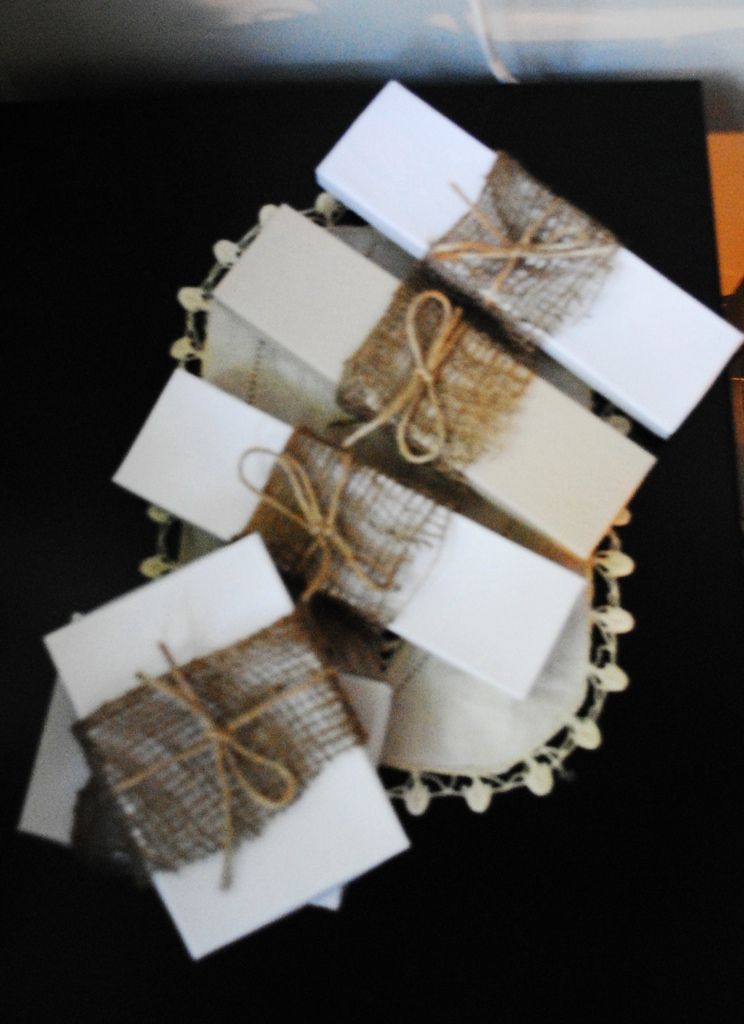
You May not know that I made mostly all of the decorations for the wedding. Including the gift bags for the Bridesmaids & Flower Girls. I tried to put together an emergency bridesmaid kit. It included; a hemming kit (that was tiny enough to fit in a purse), some clear nailpolish if the manipedi's I go them got ruined; a water bottle to rehydrate; a monogrammed note pad incase I forgot something and someone would need to remind me, I also included the hairpieces my mom and I made for all the girls; and I put all of this in a cute little monogramed canvas tote bag.
Bridesmaid Hair Pieces

Flower Girl Hair Pieces
Wrapped all nice and Pretty.
Tutorials on all to follow.

Friday, January 14, 2011

Tight Situation

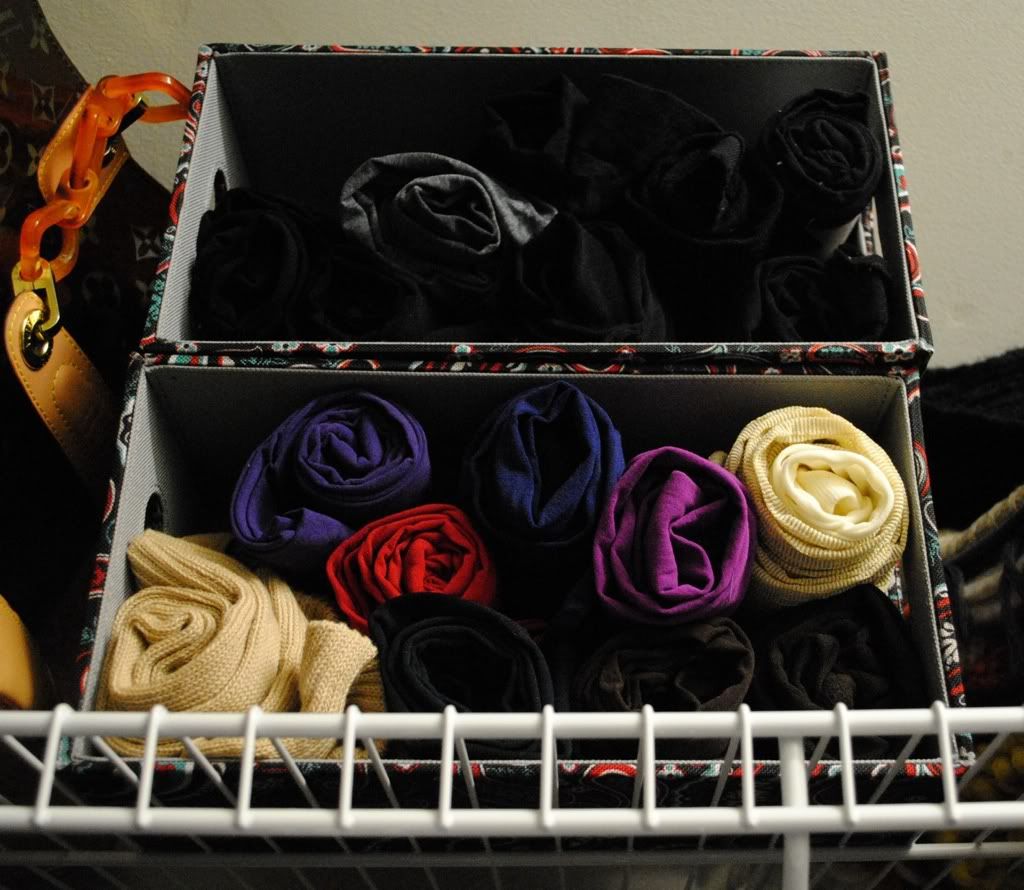
Since the begging of Fall I have been looking for a solution to my messy tights drawer. I would fold them flat like pants and stack them in a drawer taking up some prime real estate. So I saw some people rolling them up which was a duh! moment since lets face it thats the way they come packaged. I picked up these accessory trays at bed bath & beyond for <$5 each. and Voila! Pretty organization that helps me pick tights on the fly when I'm racing to beat the clock in the mornings.

Sunday, January 2, 2011

Gift Wrap Central

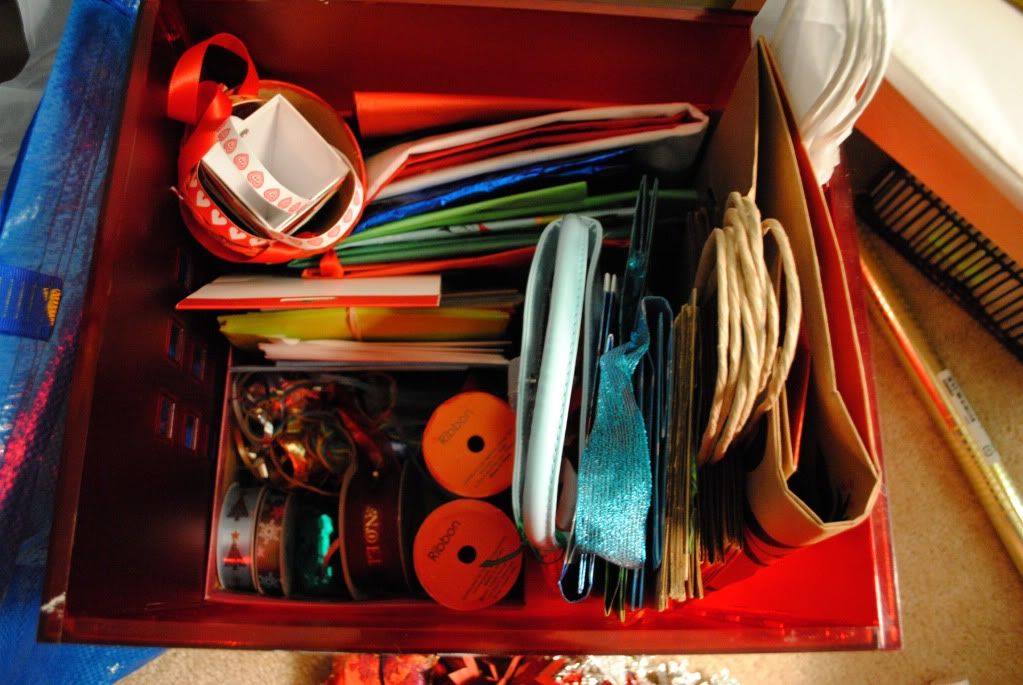
Its a little late but this works all year around. I have this set up with the usuals tissue papers, gift bags, ribbons, tape, scissors and gift cards. All the essentials you need to meet all your gift wrapping needs in an organized fashion. This way I can tuck the box into a closet and not have to see or wonder where I can find a last minute gift bag. I also have a few other organizers. That I will share when I get back home and snap the shots.

Monday, December 6, 2010

Budget Friendly Holiday Ideas

Work with What You've Got

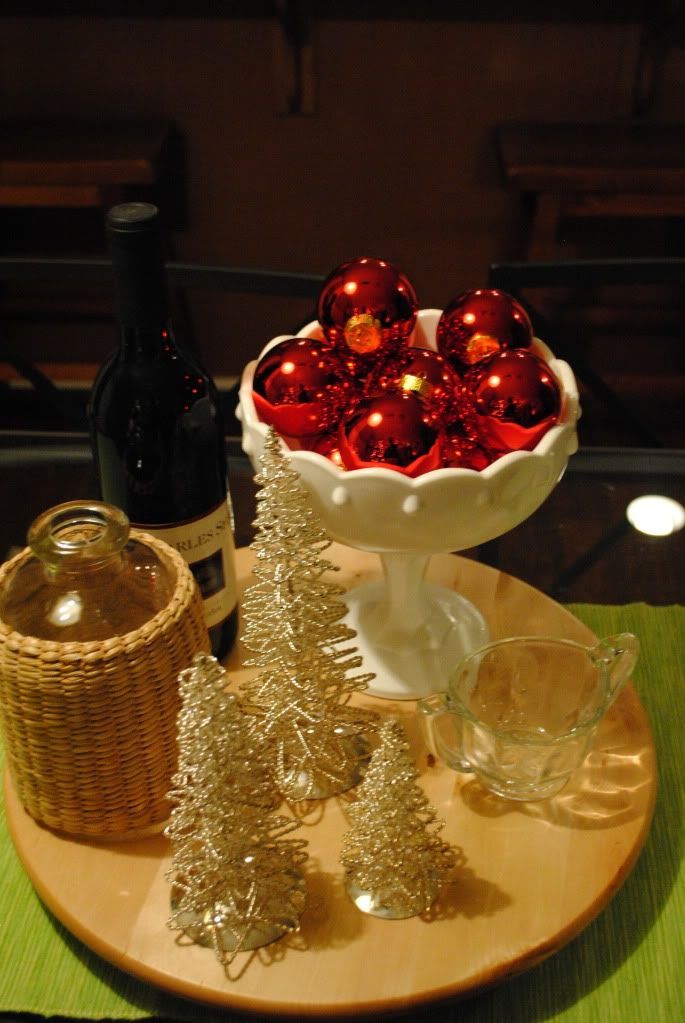
Tablescape
This bowls contents tends to get changed up seasonally. I was going to leave the fall scavenged pinecones in it just adding a bit of fake snow, but I couldn't just leave these red beauties in their box again this year. So I swapped out the pinecones with some red ornaments I had and added some holiday cheer to my table. I also added in these silver wire christmas trees that my mom picked up for me and even though they don't match with the "peacock" colorscheme the green runner I picked up on sale at IKEA for all of $.99. Cost me just $1 to set up. The vintage sugar bowl  will get a helping of walnuts whenever I make my way to the grocery store.
Splatter-Free Sparkle
The wooden fruitbowl that resides on my kitchen counter, got a nice pick me up of extra ornaments to add some  cheer to the kitchen. I just made sure there was a good mix of colors and that was that. They are all plastic so if they get an unlikely splatter of something thats being cooked I can just pop them in the dishwasher to get clean.
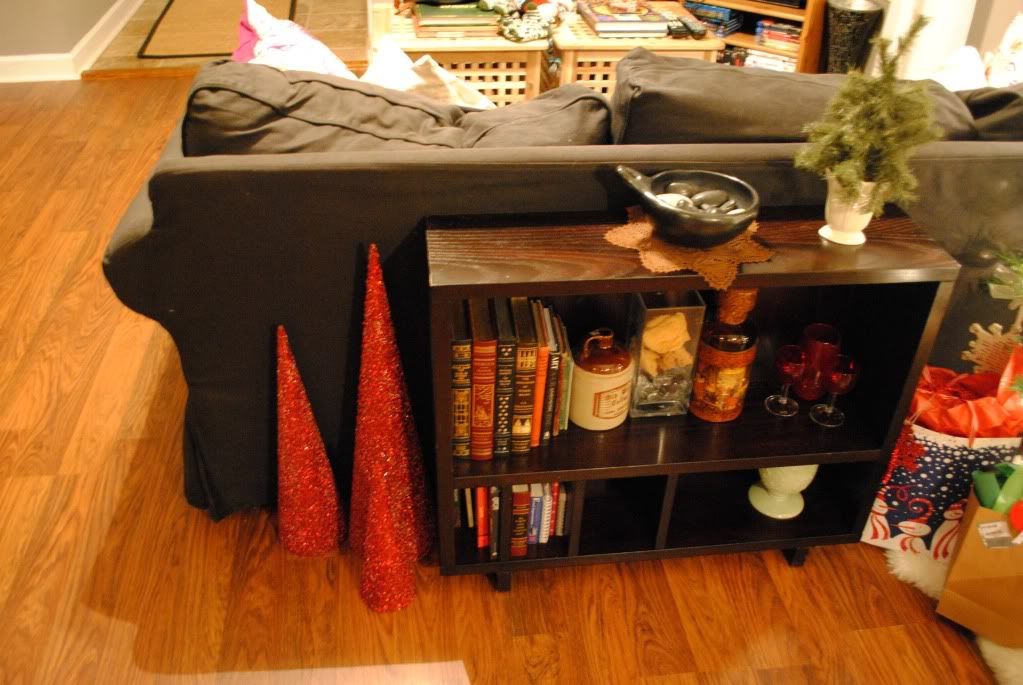
 My mom gifted (as per the majority of holiday items) me these sparkly Christmas trees. They are from Crate&Barrel, but the budget part is that though they were free for me she bought them on the 75% off day after christmas sale so they were super cheap for her.. And the kicker is you can whip up some DIY ones at home on the cheap...
Materials:
  • What you need is come cardboard cones,
  • Modgepodge,
  • Glitter in colors you intend to use.
  • Colored beads if you would like a more textured look
  • Foam Brush

(Hint: do this out side on a non-windy day, Trust me you'll thank me later)
Lay out some newspaper or a craft blanket and get a big enough plastic container to fit the largest cone in verically (this works the best because you are less likely to waste glitter it also maked for the easiest cleanup) or you can use paper plates.
Fill the plastic container with the mixed Glitter of choice.
Sift the Glitter so that it coats the entire length of the tree.
Use the foam brush to coat the entire outside of the cone in a thick layer of modge podge.
Then, Holding the top of the cone and the inner (nonglued) part on the bottom and commence to "dip" & roll the cone until it is completely covered in glitter and beads..
Set aside on news paper to dry and repeat with other.
Bonus:
If you have excess glitter/bead mix you can just tip the remaining contents into a plastic baggy or small container for later use. So no glitter is gone to waste
Deck the Halls..'er Bookcase

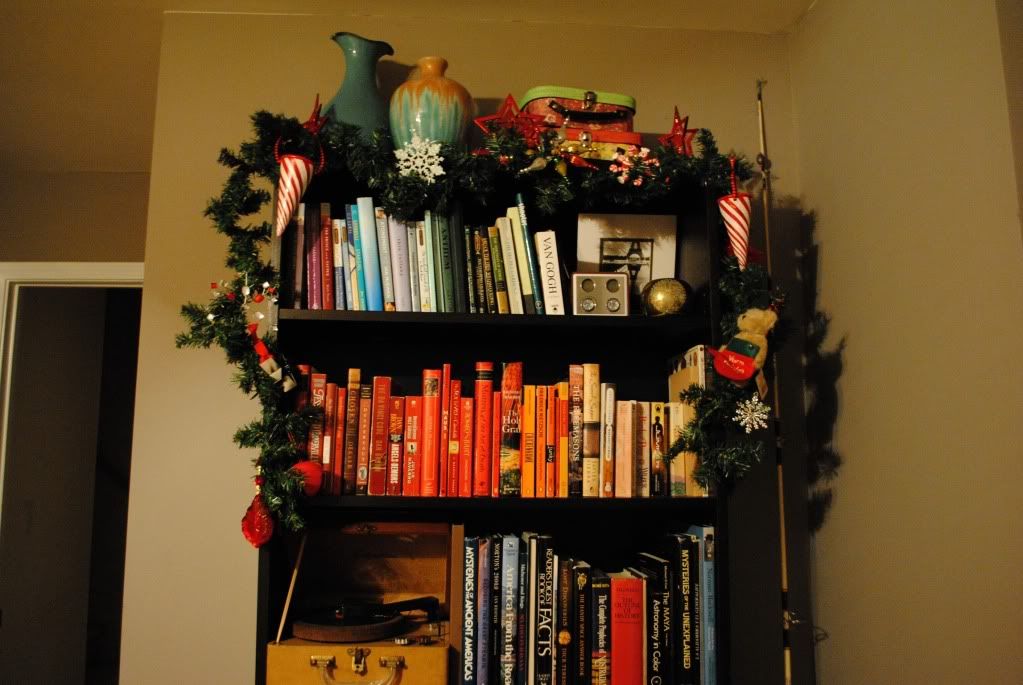
There aren't really any halls to deck in this home.. maybe Ill get lucky next year and be in a new place equipped with a hall to deck?!? right ... well a girl can dream. In the meantime I have thrown up some garland with more misfits around the living room book case.. And hung it around the top from some old Target stocking holders.. hence the big red stars ..

The misfits always find a home.. these all came from decorations my mom places on my gifts every year... her moto is "every present needs an ornament".. (most of which just may escape the wrath of her glue gun)..

Feel free to share if your bookcases get some holiday lovin' or if you have a clever way to showcase misfits...

Tuesday, November 23, 2010

Scarf Organization


Organizied for a Blustery Day

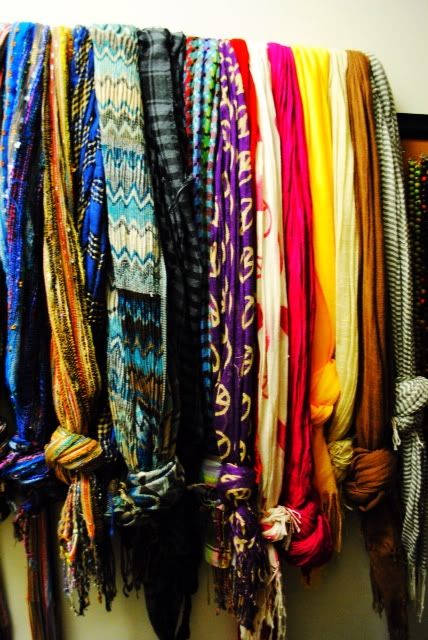
My scarf addiction started when I moved to Charlotte and I have been steadily adding to it since. However, having a number of scarves leads to one problem, never being able to find the one you want when you want it, then haveing to fight will all the other unlucky's to get it out.

My solution: use a low price railing system.
I wanted to a cheap solution that would free up some premium drawer space and made this fix for less than $2.50
Now I have a clear view of all my scarves at once and don't have to go on a scavenger hunt through the pile of them.
BYGEL rail: IKEA: $1.99

Materials:
  • Rail
  • Screws
  • Level
  • Screwdriver
Directions:
  1. Level and hang the rail.
  2. Organize scarves by color, frequency of use etc...
  3. Hang scarves one by one, at the same length knot each scarf by wrapping the ends around you hand and pulling the knot tight.

Bracelet Organizer

I had an extra plant pot that I picked up on an Ikea binge, The pot is not that functional as an actual plant pot because there is no hole in the bottom for water drainage. So it took to collecting dust in the pantry until my bracelet collection grew out of control and I came to the conclusion that my pretty pink pot could solve my bracelet dilemma. So now I can dump them all out on the dresser if the ones at the top do not strike my fancy that day and then throw them all back in quickly. All the while looking feminine & orderly.

PAPAJA pot: IKEA: $2.99
I love how the pink ceramic plays against the glass topped black dresser.

Neat and Tidy

Jewelry Organization
Many of us look for ways to organize our baubels, and come up with some sort of bulk solution that ends up taking up more space than anything. Well here was my solution.. Hang them for display on the wall.. That way minimum real estate is taken up on a floor or dresser by some bulky contraption that still leaves you searching to find what you are looking for.. This way everything is nice and neatly displayed so I can see everything at a glance and not have to go digging.. (this works wonderfully when I am running late for work and forgot to include accessories in my outfit plan the night before). This way I also don't have to worry about anything getting tangled up.


Materials Needed:
  • Corkboard framed to the optimal size you will need.
  • Thumb Tacks
  • Screws or hooks (based on fram hanging needs0
  • Screwdriver or hammer
  • level
Directions:
  • Hang on the wall like a regular frame
  • Separate items that will go on the board based on style and length.
  • Move across your collection giving enough space between items so that you have a clear view of each

Thursday, November 4, 2010

Patio Update


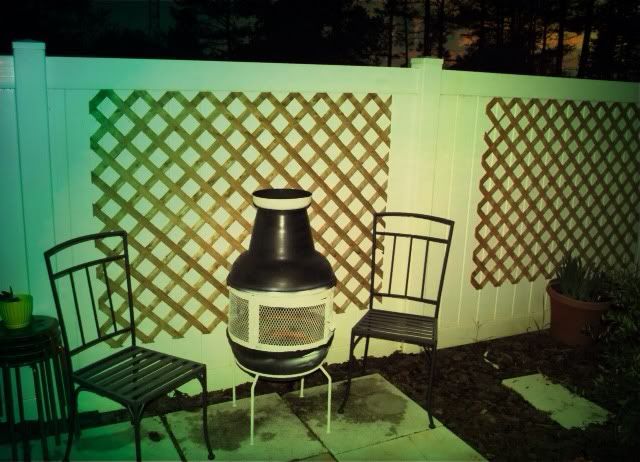
I went ahead and decided to add lattice fencing to the bland white PVC fence that surrounds my pation. It was a relatively cheap and simple solution to breakup the white and make it a cozier space. I can now imagine fall nights sitting by the chimnea with a nice fire going roasting marshmellows and sipping on hot cocoa. 

Materials:
Wood Lattice Fencing cut to size
Dry Wall screws (I used 3 per lattice square)
Drill

Directions:
 Simply center lattice and drill the screws where the lattice crosses, to make sure you  get both directions. We did 2 screws on opposite ends of the top and one centered on the bottom.

Total Cost: $55


Wardrobe Raid- A Costume Affair


So this Halloween as previously mentioned my inspiration was Maverick ala Tom Cruise in Top Gun.. As with Halloween it is the time to step out of my comfort Zone and wear something I would be caught dead in any other day since it is soo out of my more conservative sensibilities.. In addition I chose to put this costume together from things I already owned vs. purchasing one from a costume shop because I wanted to be able to reuse most if not all of the the components in everyday life..I know give you the Wardrobe Raid : Costume Edition

Bomber Jacket: Kohl's: $34. White T-shirt: Forever21, Skirt (that is literally folded in half): Forever21: $6.50, Nude Fishnet tights: Kohl's: Simply Vera Wang: $7.50 on sale, Knee Socks: Forever21: $5.50, Boots: Aldo: $150 on sale (last year), Purse: Louis Vuitton: gifted from mom about 8 years ago, Signature Aviator Sunglasses( that I could barely see through all night): Payless: $6 during BOGO.

Weekend Travels

Well I am still getting back in to the normality of everyday life after a wonderful weekend with the Bf in Myrtle Beach, SC.  It was sunny but in the 60s and windy... However, that didn't stop us from getting into bathingsuits and sun bathing. I was nowhere near daring enough to brave jumping in the pool...


We did however get to make up my Bday dinner at the Melting Pot (my new favorite restaurant) and yes I am still trying to get the food smell out of my pea coat.. We did some touristy scouting at Barefoot landing like feeding fishies and purchasing a hookah :) and then subsequently I spent the rest of the day studying by the pool.. Then there was the nefarious computer hunt so I could complete a homework assignment, I tried the lobby computer that didn't allow popups, I tried using my Iphone with no luck, we then proceeded to head to starbucks so that I could use the Wi-fi to try my luck on my Ipad... No use, and lastly we tried my bf's Blackberry... all to no avail... I was bummed that I had spent a whole afternoon of my vacation studying and couldn't even do the assignment... Talk about a let down!

Then I Did get to set up the bf's costume make up and I think it came out much better than expected and definitely creepy! I did happen to use all of my make up brushes and the latex glue took 2 days to come off my fingers but I believe that the result was well worth it.

I will admit it was strange putting contacts in someone elses eyes for a change. We used latex for the face ridges and accentuated  brow line, followed up with nude face cover and a black, red, and grey pallet of face paint for the creepiess factor. He also purchased white out contacts and molded fangs.. the wardrobe was his own (and I love it)...He was all modern vampire complete with Rosary necklace..
All in all it was a wonderfully fun weekend and I was sad to say good bye!


Thursday, October 28, 2010

Halloween

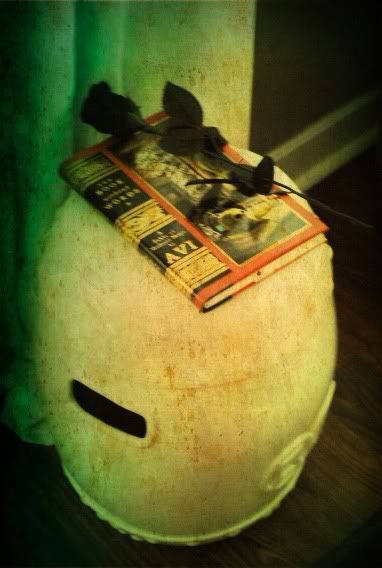
This year I didn't really decorate for Halloween because I really haven't been home and didn't want to add clutter with decorations since the house still is on the market. I also didn't feel like crawling around in my attic until I found the box where everything is.. ( I soo need to label). But... I did put out these lovelies..

White garden bench: Old Time Pottert $19.99, Scary book : Borders Bin sale $2.99, Black Rose: Walmart $1.50.

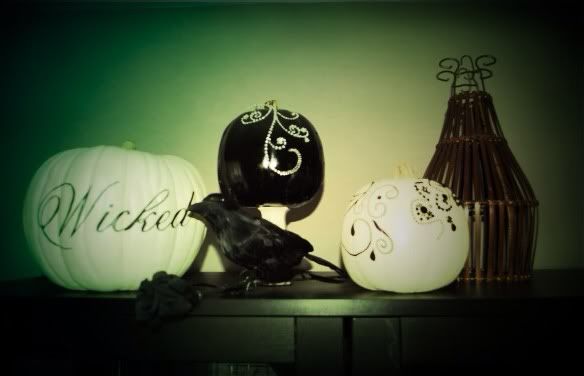
Glam Pumpkin display above Curio cabniet. I made these from this Tutorial . I just loved the concept and decided to add my own touches. I ran out of sparklies so I decided to take a swing at freehanding some of the designs.. I also Added another black rose and Crow from Michaels that Ed hates... and a sea lamp from the Pottery Barn outlet.

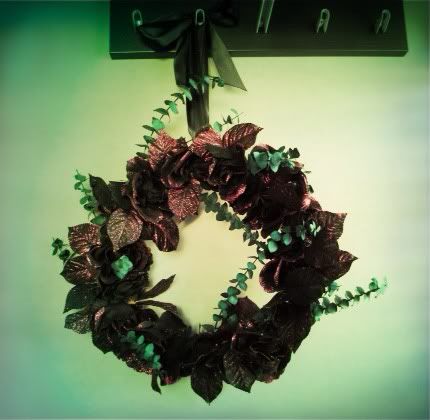
Lastly we have this DIY Glam Rose Wreath. My mom helped me with this one last year, its simple to make...
What you'll need:
Floral Wreath from your local craft store (in your preferred size).
About 4 bushes of roses (I used these black with purple glitter ones)
3 long sprigs of Eucalyptus
Roll of shiny Black Ribbon
Hot Glue Gun

Cut the Roses  and leave close to the stem and hot glue to the floral wreath. Make sure to open up the flowers prior to glueing so that they take up more space... once you make it all the way around and like the fill amount add in some random cuttings of the Eucalyptus at random intervals.
Add a length of ribbon long enough to hang wreath at desired height, Tie at the top with a large bow.
Hang and enjoy your sucess..